Texture packs are popular products for Minecraft, and installing texture packs has been easier than ever, thanks to Mojang (the game's developer company). Installing a texture pack now only takes a few minutes. Meanwhile, you can spruce up your game with a whole new look!
How to Install Texture Packs in Minecraft
Although the Bedrock version is basic and only requires a download from the Minecraft Marketplace, installing a texture pack on the Java version can be frustrating if you're not used to modifying games. We've simplified things below with instructions and screenshots to help you.
First step: download the texture pack.
You can download texture packs for Minecraft wherever they are. They are usually in .zip format, but this is not required. Be careful where you download the texture pack! As always, practice safe browsing habits. When you download it, you can keep it in your download folder, but make sure the folder you put it in is open in your file explorer.
Related: Rarest Minecraft Biomes – Pro Game Guides
Step Two: Run Minecraft.

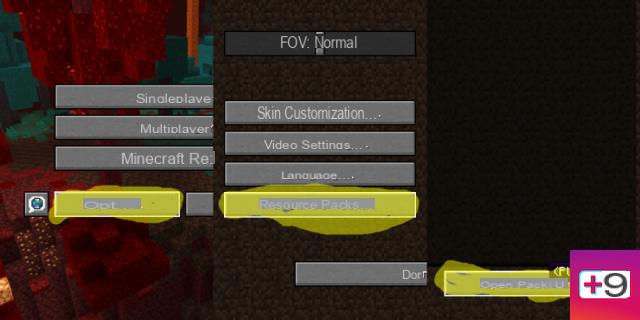
Now that you have downloaded the texture pack, you need to run Minecraft. From the title screen, follow the path shown in the image above to open the resource packs folder. The steps are also listed below.
Third step: move the texture pack to the Pack folder.

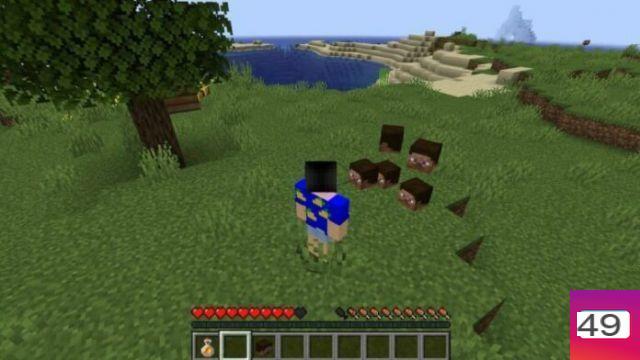
The image above shows how you can drag and drop the folder file from its download folder to the Pack folder. As long as the texture pack contains the necessary items, the game will recognize it as a texture pack. Note the folder paths highlighted in yellow. You need to be sure to drag the folder from the download folder to the resource pack folder.
Step Four: You're Done!

You have now installed the texture pack! You can select it in game and it will be applied automatically. Peasy easy!
Want to see what your texture pack is doing to the game? Find out how to get all the stained glass and flowers to see their newly applied beauty!


